
Ingredients
- 2 eggs
- 3/4 cup milk
- 2/3 cup finely crushed saltines
- 1/2 cup chopped onion
- 1 teaspoon salt
- 1/2 teaspoon rubbed sage
- Dash pepper
- 1-1/2 pounds ground beef
- 1 cup ketchup
- 1/2 cup packed brown sugar
- 1 teaspoon Worcestershire sauce


Directions
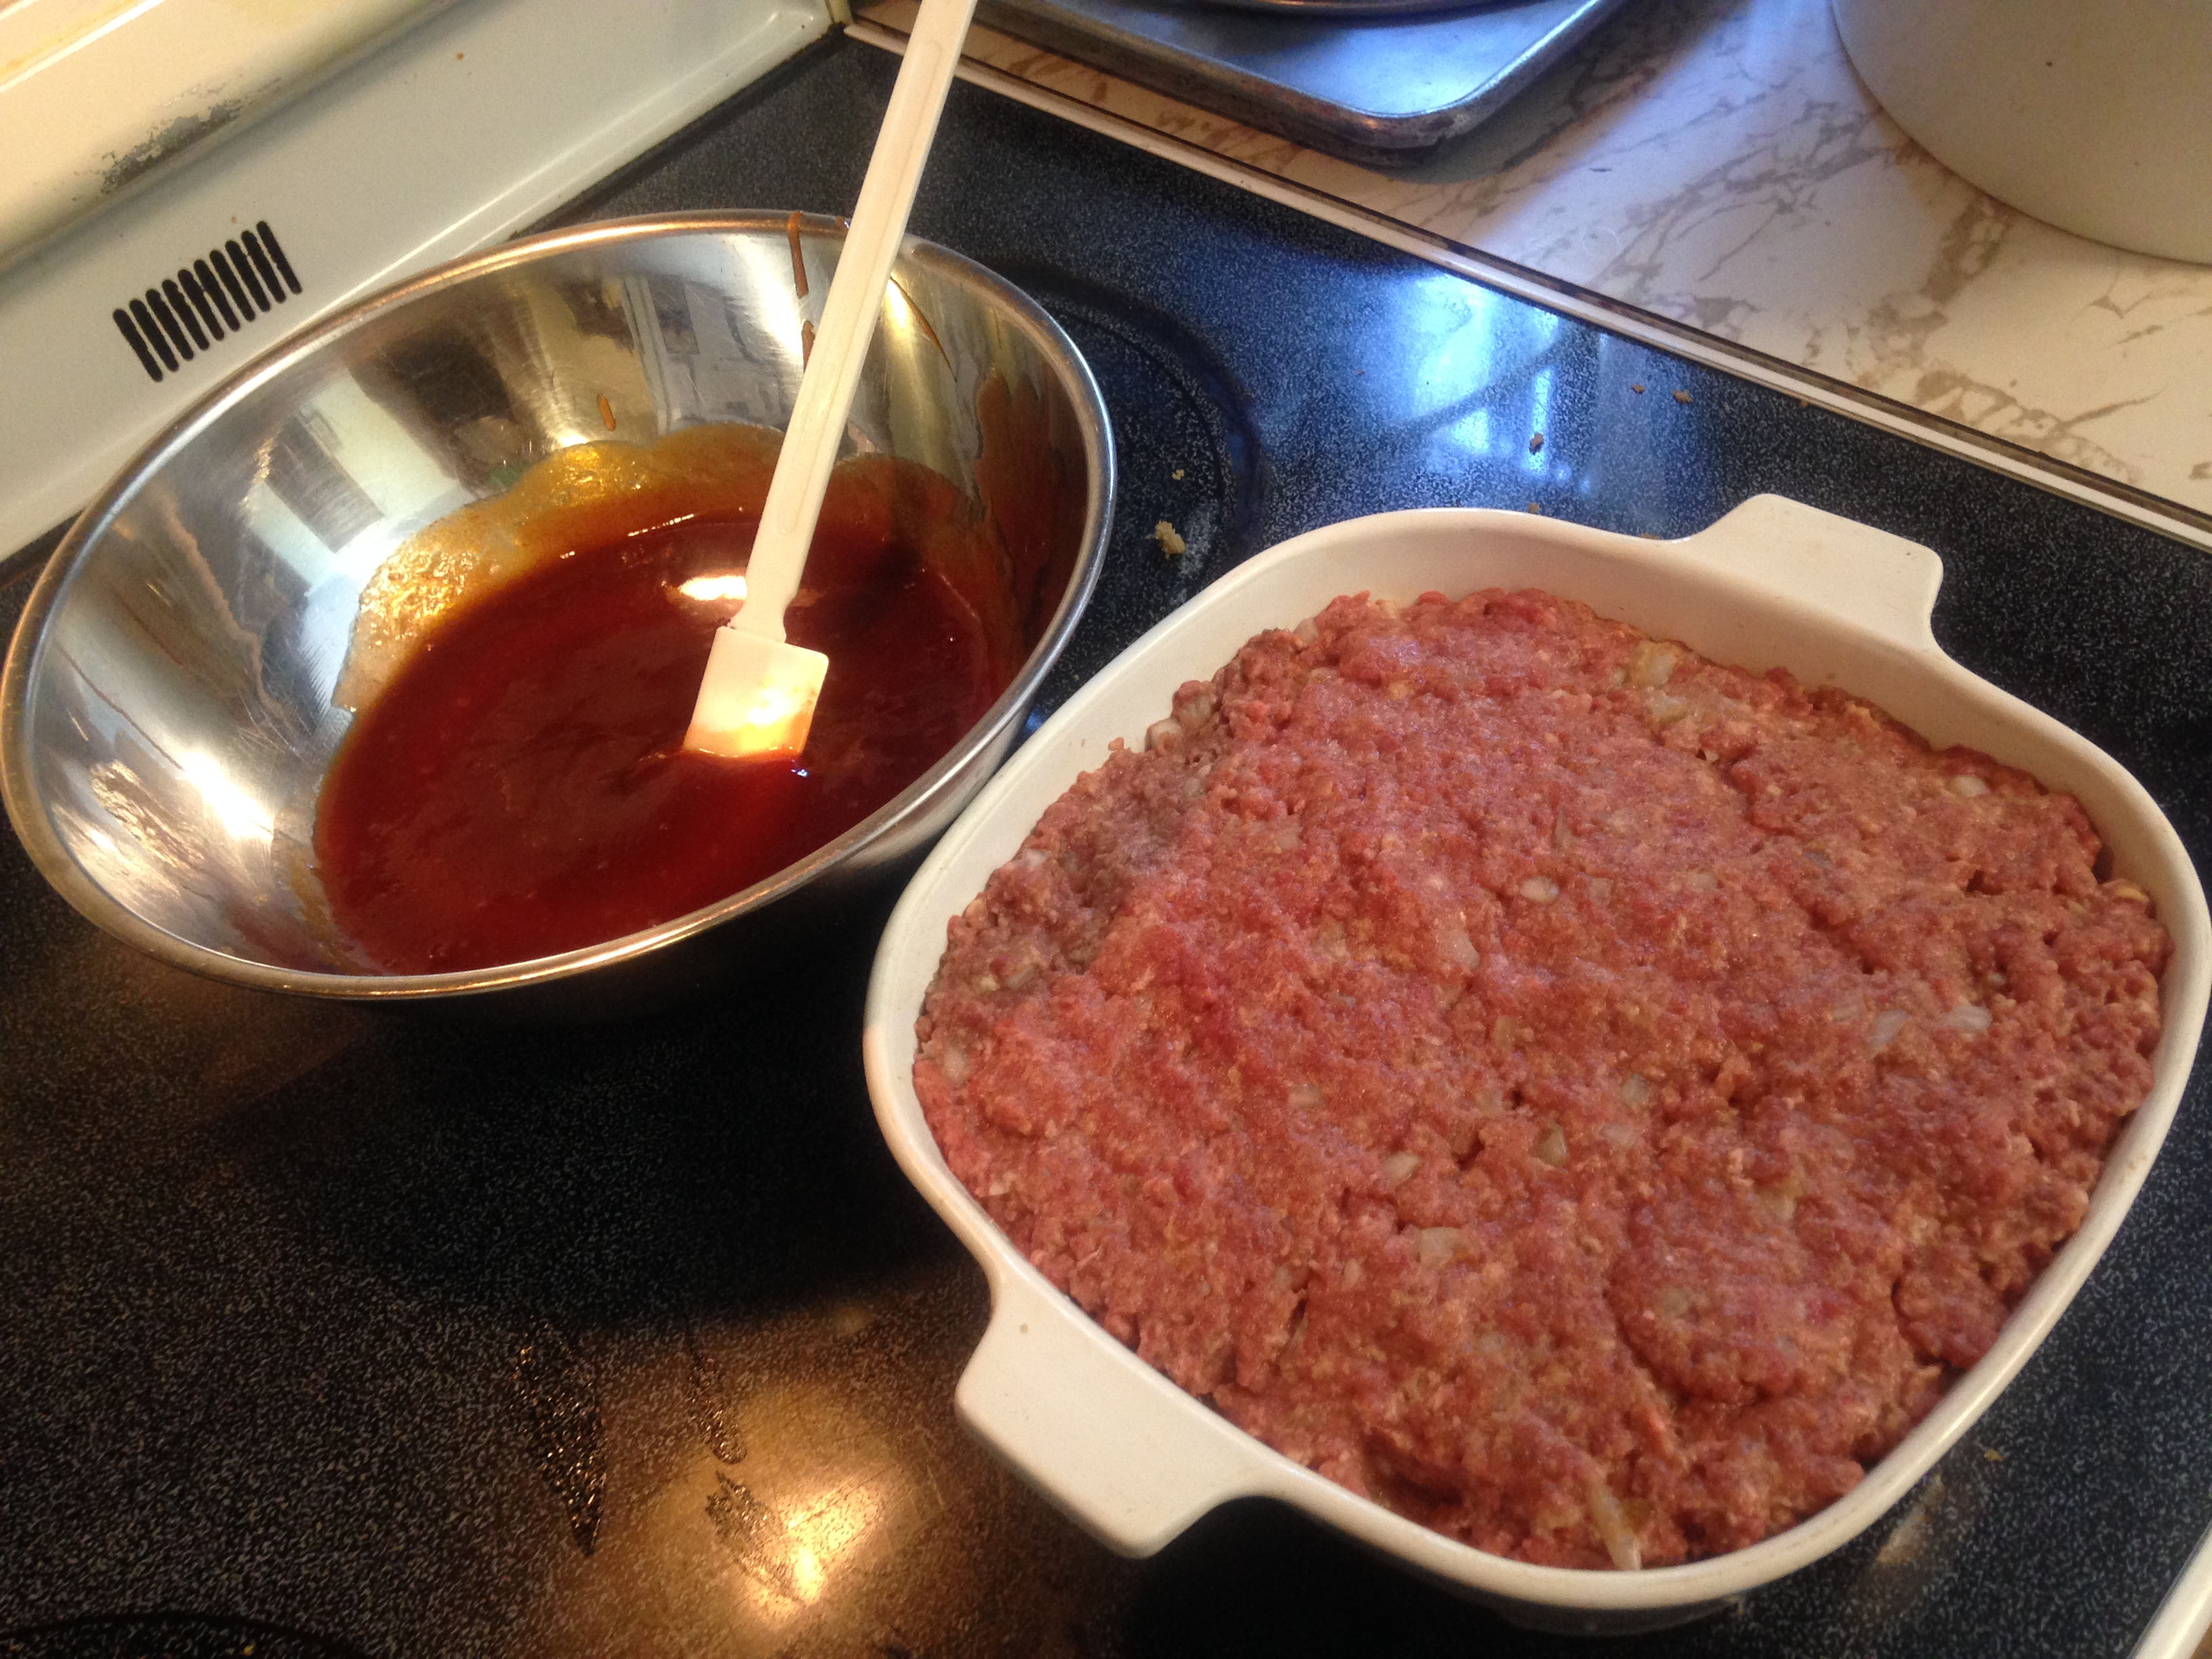
- In a large bowl, beat eggs. Add milk, saltines, onion, salt, sage and pepper. Crumble beef over mixture and mix well. Shape into an 8-in. x 4-in. oval in an ungreased shallow baking pan.
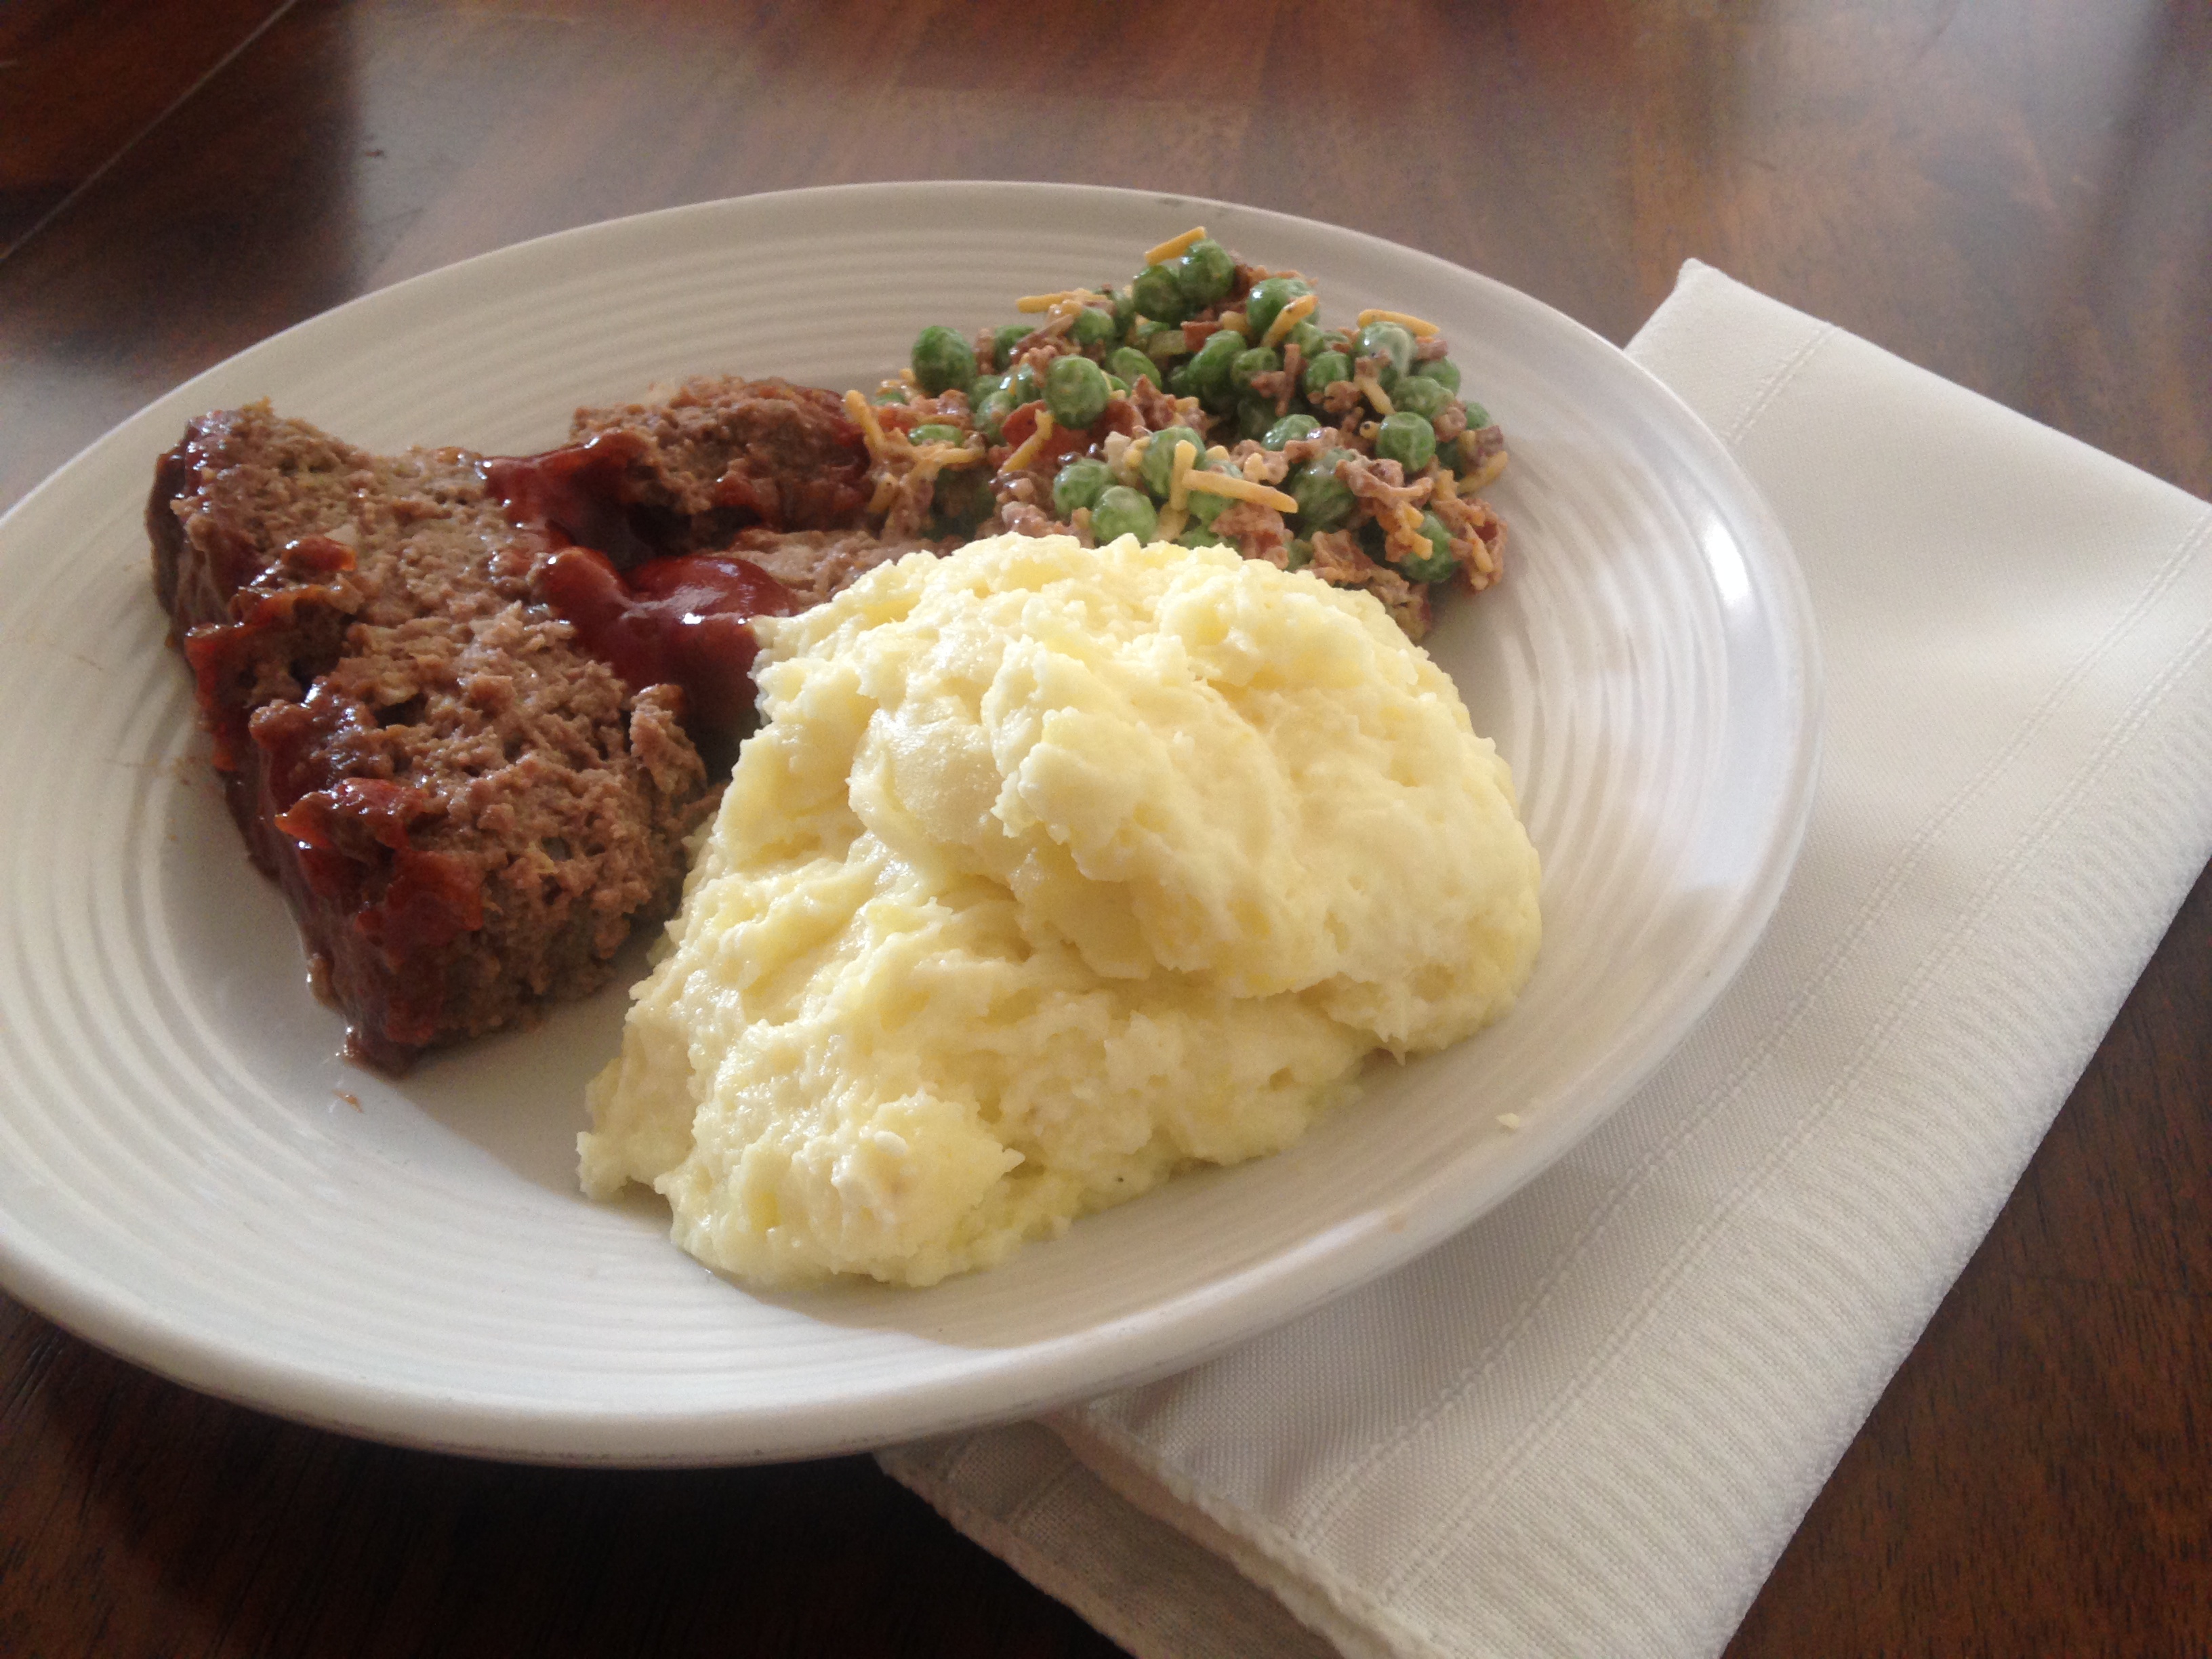
- Combine the remaining ingredients; spread 3/4 cup over meat loaf. Bake at 350° for 60-65 minutes or until no longer pink and a meat thermometer reads 160°; drain. Let stand 10 minutes before slicing. Serve with remaining sauce. Yield: 6-8 servings.

- 5 Yukon Potatoes – They are gold in color
- 3 garlic cloves
- ¼ cup of onion – finely diced
- 4 ounces of sour cream
- 2 ounces of light cream cheese
- ¼ cup of parmesan cheese
- ¼ cup of butter
- Chives – Garnish

- Cut each potato into 4 pieces – I leave the skin on
- Place the potatoes, garlic ,and onions into boiling water – I use a large stock pot
- Boil till potatoes are tender
- Drain (none of the potatoes, garlic, or onions should come out)
- Place the potato mix back into the pot – over low heat add cream cheese, parmesan cheese, sour cream , and butter
- Mash like it is going out of style
- Place in serving dish and garnish with chives
- Enjoy!

cook’s notes:
- I prefer to use frozen peas that have thawed overnight in the refrigerator. I prefer the texture and flavour of them over canned peas. If you have fresh peas, blanch them as you would to freeze them and use them after they’ve chilled.
- We served scoops of this on top of salad the other day and loved it. Bonus: No dressing necessary.
- This can be served immediately after stirring it together, but tastes even better if allowed to sit, tightly covered, in the refrigerator for an hour or up to three days. It should be eaten within 3 days of being made, which is NOT a problem. Trust me.


Ingredients
- 1 pound of bacon, cooked according to package instructions, drained and crumbled or finely chopped
- 2 pounds frozen peas, thawed in the refrigerator overnight
- 3/4 cup coarsely grated sharp Cheddar cheese
- 1/2 small red onion, peeled, and finely chopped
- 1/2 cup of mayonnaise
- 1/2 teaspoon kosher salt
- 1/2 teaspoon coarsely ground black pepper
- 1/4 teaspoon paprika

Instructions
Stir together all of the ingredients and serve immediately, or (preferably) put in a tupperware, Gladware, or other tightly covered container in the refrigerator to give the flavours a chance to meld for an hour but up to three days prior to serving. Give it a gentle stir from top to bottom before serving.


I let my brother pick the dessert!
YIELD: about 15 medium-sized cookies
PREP TIME: 10 minutes
COOK TIME: 8 minutes
TOTAL TIME: 18 minutes
INGREDIENTS:
1/2 cup coconut oil, softened (softened to the consistency of soft butter; not rock hard and not runny or melted, see below)
1 cup dark brown sugar, packed
1 large egg
2 tablespoons vanilla extract (yes tablespoons, not teaspoons), or to taste
-I surprisingly ran out of vanilla extract and had to put in a little almond extract, but they ended up tasting fine.
1 tablespoon unsulphered mild to medium molasses (use very dark or Blackstrap at your own risk because its very pungent and bitter for baking)
1 3/4 cup all-purpose flour
2 teaspoons corn starch
1 teaspoon baking soda
1/4 teaspoon salt, optional and to taste
DIRECTIONS:
- To the bowl of a stand mixer fitted with the paddle attachment, combine coconut oil, egg, sugar and beat on medium-high speed to cream until light and fluffy, 4 to 5 minutes. Note – Coconut oil should be the consistency of soft butter like you’d use to cream with sugar and eggs in traditional cookies. If coconut oil is rock hard, microwave it in a small bowl for 5 to 10 seconds or just until it begins to soften. If coconut oil is runny or melted, place it in the freezer momentarily until it firms up. A tiny amount of runniness is fine; it’s an oil and that happens. But do not use melted or purely liquid coconut oil because you can’t effectively cream a liquid; it would be like trying to cream liquid butter.
- Stop, scrape down the sides of the bowl, add the vanilla, molasses, and beat to incorporate, 1 to 2 minutes. Add the flour, corn starch, baking soda, optional salt, and mix until just combined, about 1 minute.
- Using a medium cookie scoop, form mounds that are 2 heaping tablespoons in size; or divide dough into approximately 15 to 16 equal-sized pieces. Place dough mounds on a large plate, and slightly flatten each mound. Very important to get the dough mounds in the exact shape you want to bake them in because after chilling, flattening or re-shaping them is very difficult. Cover with plasticwrap, and refrigerate for at least 2 hours; up to 5 days. Do not bake these cookies with dough that has not been properly chilled because they will spread.
- Preheat oven to 350°F, line a baking sheet with a Silpat Non-Stick Baking Mat, parchment, or spray with cooking spray. Place dough on baking sheet, spaced at least 2 inches apart; I bake a maximum of 8 per sheet. Bake for 8 to 10 minutes, or until tops have just set, even if slightly undercooked, pale, and glossy in the center. They firm up as they cool and I recommend the lower end of the baking range because they taste best when softer. The cookies in the photos were baked for 8 minutes, with trays rotated once midway through baking.
- Allow cookies to cool on the baking sheet for 5 to 10 minutes before moving. Store cookies in an airtight container at room temperature for up to 1 week, or in the freezer for up to 3 months. Alternatively, unbaked dough can be stored in an airtight container in the refrigerator for up to 5 days, or in the freezer for up to 3 months, so consider baking only as many cookies as desired and save the remaining dough to be baked in the future when desired.


